
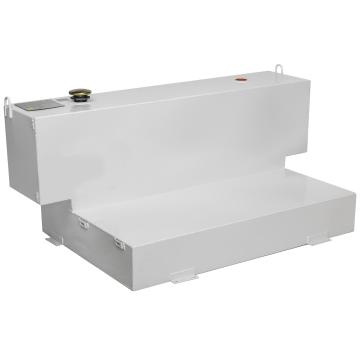
Crescent JOBOX How to Install a Liquid Transfer Tank
Crescent JOBOX How to Install a Liquid Transfer Tank


The installation of your liquid transfer tank will require two people, a tape measure, a power drill with a 7/16 inch bit, a felt tip pen, and two ratchets — each with a 9/16 inch socket.
For safety, you will need gloves and eye protection.
Check the mounting kit for the following:
Installation instructions
Four 3 inch 3/8 inch bolts
Four 2 inch washers
Four 3/8 inch nylon hex lock nuts
Four rubber mounts
Four 1 and ¼ inch washers
One “Combustible” label
Read the instructions prior to beginning installation.
Regulations of fuel transportation vary from state-to-state. It is recommended you consult with your local Fire Marshal prior to installing the tank.
To begin installation, place the transfer tank in the bed of the vehicle.
For easier fueling, position the tank so that the fill cap is on the same side as your vehicle’s fuel door.
Slide the tank to the front of the truck bed — leaving enough space to comfortably position your hand and a drill between the tank and the bed wall.
Use a tape measure to ensure the tank is centered side-to-side in the bed. Failure to center the tank could create a driving hazard due to unbalanced loads.
Each mounting bracket contains two holes. Only one hole per bracket is needed.
Inspect under the vehicle and choose which hole best avoids any fuel lines, brake lines or any electrical components that could be damaged.
With a felt tip pen, mark the location to be drilled. Repeat for each bracket.
Slide the transfer tank away from the area.
Using a power drill with a 7/16 inch bit, drill each hole.
Realign the transfer tank over the holes.
Next, assemble the ¼ inch washer onto the bolt, align the rubber mount over the mounting bracket hole. Secure with the assembled bolt. As Mentioned Before: Please be sure to place the rubber mount ABOVE the mounting bracket and BELOW the washer*.
With the help of another person, install the 2 inch washer and nylon locking nut to the underside of the bolt. Tighten using the ratchets with 9/16 inch sockets.
A deep socket and extension may be useful for tightening under the vehicle.
Repeat for each bracket.
Your transfer tank meets the USDOT requirements for combustible fuel.
Apply the “Combustible” label in the upper center of the tank facing the rear of the vehicle. Check that the label is clearly visible over the tailgate.
The installation is now complete.